Basic Email Campaign (Marketing)
To start with yout first campaign, you need to create an email Template.
You can create templates in Back Office Marketing >> Templates. Here 'My Templates' are the ones available only for the selected location, 'Shared Templates' are shared from the main Parent location (Corporate), and 'Stock Templates' to give you an inspiration or a start.
You can create templates in Back Office Marketing >> Templates. Here 'My Templates' are the ones available only for the selected location, 'Shared Templates' are shared from the main Parent location (Corporate), and 'Stock Templates' to give you an inspiration or a start.
Creating your template is simple with our new editor, you can check this article for the training videos on it: New Email and Webpage Editor - Guide
Also, you can make use of predefined parameters that will insert dynamic content in the email (Customer Name, Store address, etc.). Article about supported parameters is here: Growth Marketing Dynamic Content
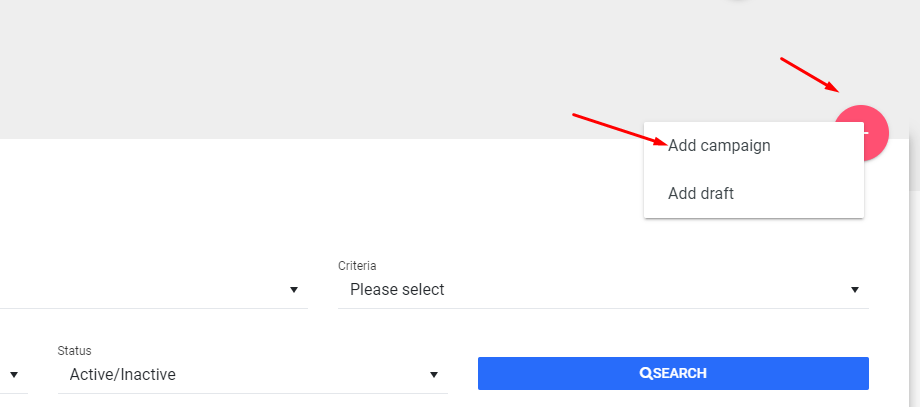
After your template is done, you can navigate to Marketing >> Campaigns, press on the plus sign in top left and select 'Add Campaign'
On the first page, you can assign the locations in which you desire to create the campaign, create a name, and assign the category (this is merely for filtering purposes).

Toggles:
- Enroll all new locations automatically >> will add the campaign to newly created locations;
Also, you can make use of predefined parameters that will insert dynamic content in the email (Customer Name, Store address, etc.). Article about supported parameters is here: Growth Marketing Dynamic Content
After your template is done, you can navigate to Marketing >> Campaigns, press on the plus sign in top left and select 'Add Campaign'
On the first page, you can assign the locations in which you desire to create the campaign, create a name, and assign the category (this is merely for filtering purposes).
Toggles:
- Enroll all new locations automatically >> will add the campaign to newly created locations;
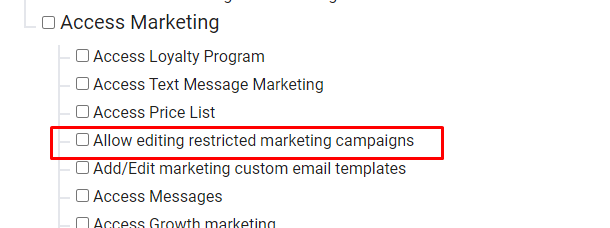
- Restricted Campaign: restricts the editing of the campaign to user who have this permission
On the second page, for basic campaign select 'Send type' - Manual, and 'Send Criteria' - Custom. You can explore other options for these values as well, we have a more detailed article here: Automated Marketing/Growth Marketing
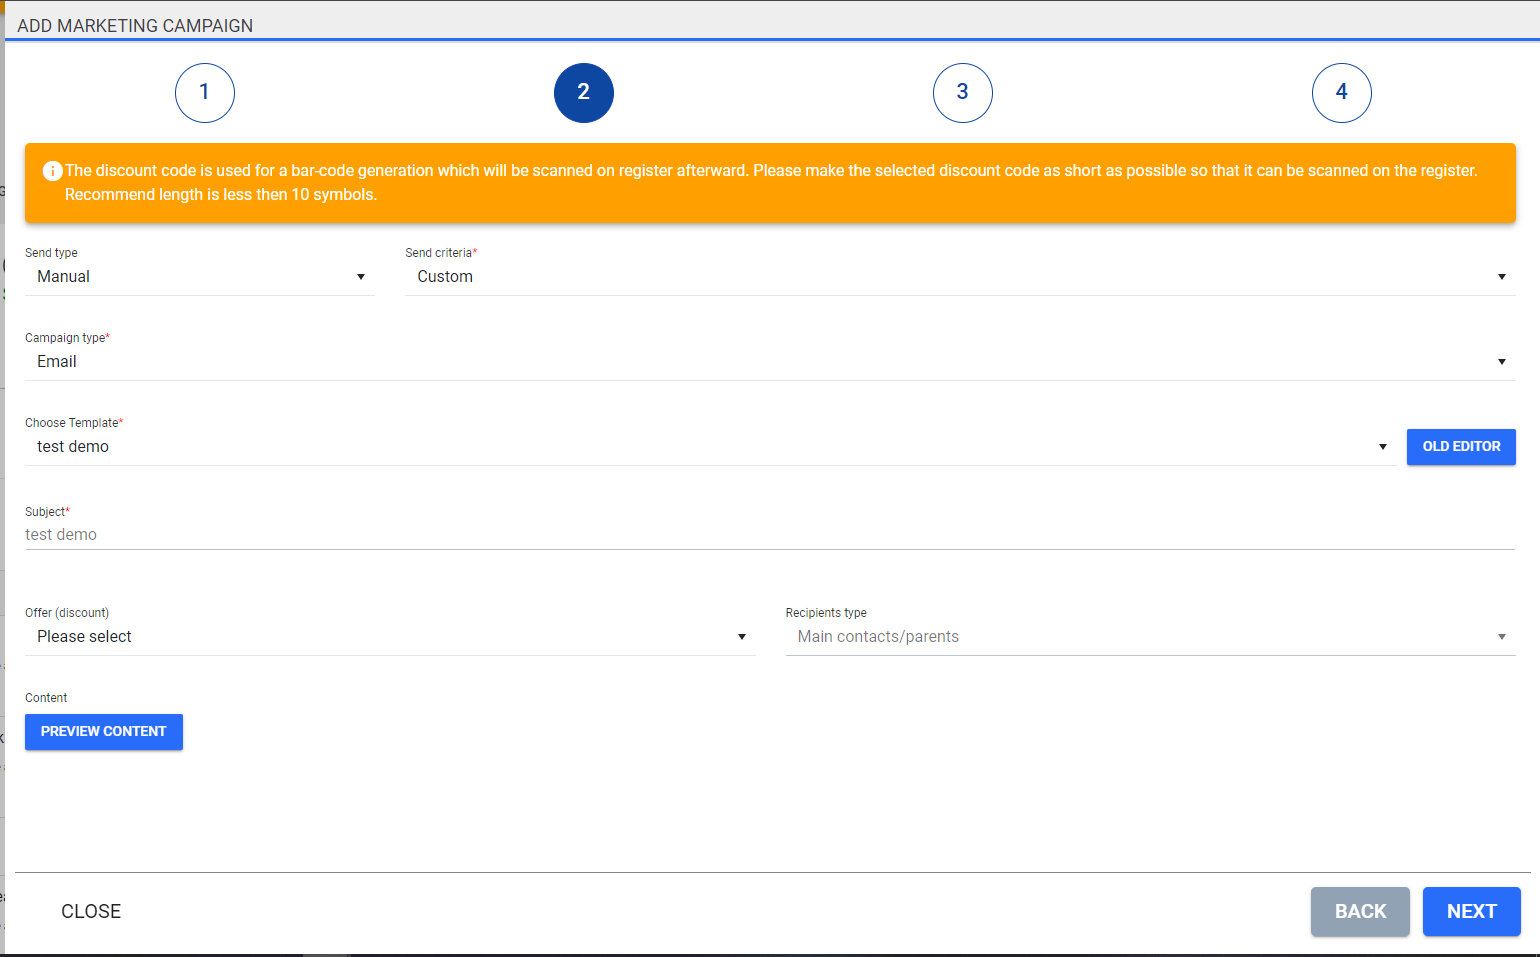
Campaign type - select Email;
On the second page, for basic campaign select 'Send type' - Manual, and 'Send Criteria' - Custom. You can explore other options for these values as well, we have a more detailed article here: Automated Marketing/Growth Marketing
Campaign type - select Email;
Template - select the newly created or existing template here;
Subject - this is the subject on the emails customers will receive;
Offer - you can attach the offer for this campaign (manual discount) (you also want to use this parameter in your template, so customer can show a barcode for a discount at the checkout: - %RedeemUrl%: Link to the barcode to redeem discount.)
Recipients type - Either Parents or Pets/Children (this is mainly for the dynamic parameters, that are described in this article: Growth Marketing Dynamic Content)
Recipients type - Either Parents or Pets/Children (this is mainly for the dynamic parameters, that are described in this article: Growth Marketing Dynamic Content)
And you can Preview the template as well on this page.
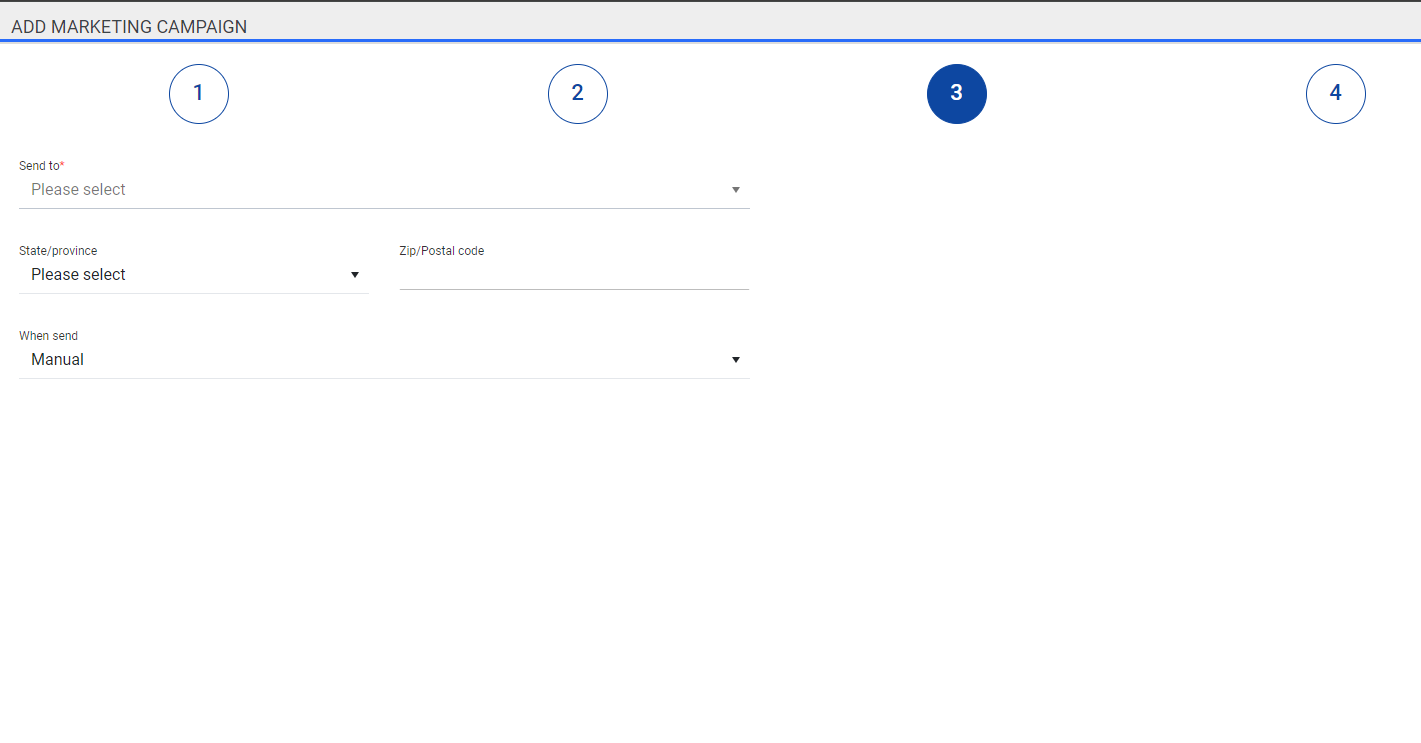
Next, on the third page, you decide who are the customers that will receive this campaign.
Send to:
Next, on the third page, you decide who are the customers that will receive this campaign.
Send to:
Group - is the Lead Source/Groups you create and assign to customers, article: Lead Source/Groups
Other options are self-explanatory.
Here, you can also restrict the campaign to specific state or zip code, and choose when to send it:
Manual send - sending the campaing from the Campaign
Lastly, on the fourth page, you will see the campaign preview, you can send a test email (note, this will not have the dynamic parameters filled out, don't worry in the real emails they will be substituted for the actual data).
Hitting Save, and your campaign setup is done. If you choosed the Manual send on the 3 page, you will send the campaign like this:
After you send it, you can check the progress on the Campaign control page:
Related Articles
Automated Marketing/Growth Marketing
With the Growth Marketing add-on, Franpos will allow you to create automated text message and email campaigns that deliver to your customers based on triggers. Prerequisite:- Settings > Account > My plan and billing > Select Automated Marketing ...Reactivation Campaign – Bring Customers Back
? Reactivation Campaign – Bring Customers Back Reconnect with customers who haven’t visited recently but have been active in the past. This automated campaign helps re-engage them with a personal message and a special offer to encourage their ...Automated “Happy Birthday” Campaign
? Automated “Happy Birthday” Campaign Delight your customers and bring them back in with a thoughtful birthday text message that includes a personal note and discount code—sent automatically every day. What it does Sends an SMS X days before each ...Welcome Campaign – First Service Order Created
? Welcome Campaign – First Service Order Created Send an automatic welcome message to new customers after their first order or appointment. It’s the perfect moment to thank them, introduce loyalty programs, and encourage their next booking. What it ...Upgrade Appointment with Add-On Campaign
✨ Upgrade Appointment with Add-On Campaign Encourage upcoming appointments to include optional add-on services — from wellness extras to premium treatments — and increase your average booking value automatically. What it does Targets customers with ...