My Website Guidance "Site Info" Page
Introduction
This is the second guide in a series on how to use and configure websites within Franpos. In this walkthrough, you’ll find step-by-step instructions on how to work with the "Site Info" page inside the My Website section.
Parent and Child Locations in Franpos
In our system, we use the concept of Parent and Child locations — especially relevant for franchises and chain stores.
Some configuration options are only available at the parent location level and cannot be edited from child locations. However, these settings can still have a full effect on the behavior and appearance of child locations.
Configurable functions on this page
Locations Under This Domain
It allows you to assign the selected domain as the default domain for all associated locations, ensuring consistent branding and domain usage across your business.
 For a detailed guide on domain configuration, please refer to the article below:
How to add a domain to your e-commerce website in Franpos
Meta Data
Meta data refers to specific pieces of information embedded in the code of a web page (within the <head> section). While not directly visible to users, meta data plays a key role in how search engines understand and index your website, which is essential for SEO and online visibility.
- Title: Defines the name of your store. Include a name that reflects your store’s focus and location for better visibility.
- Keyword: List keywords that describe your store’s products, services, and niche to help search engines understand your content.
- Description: Add a detailed description of what your store offers and what makes it unique. This helps increase your click-through rate from search results.
These details are also displayed in search engine results.
As shown in the example below, the Title and Description fields are used to represent your website in search listings.
Copyright © 2025
 Example
SEO Business Type
Select the industry category that best represents your business. This helps search engines understand your website’s purpose and improves search result relevance.
Favicon

Logo
ExampleEnable ZIP Code Restriction
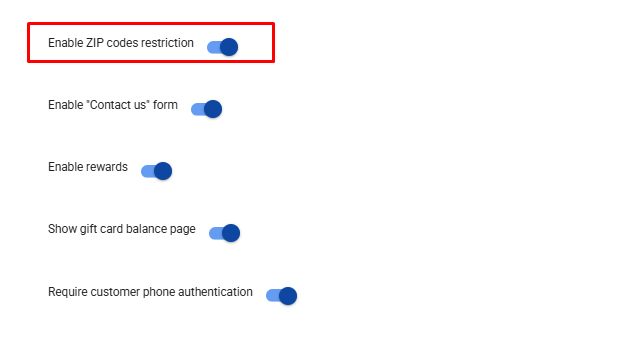
Controls access to your eCommerce site based on ZIP code.
Note: Must be enabled at the parent location to function on child locations.
When Enable ZIP Code Restriction is turned on, two new fields — Service Area ZIP Codes and Enforce ZIP Code Validation — will appear under My Website → Store Info.To show a pop-up window asking users to enter their ZIP code when visiting your website, make sure the Enforce ZIP Code Validation toggle is also enabled.
If the entered ZIP code is listed in the Service Area ZIP Codes, access is granted. If not, access will be denied.
Enable "Contact Us" Form
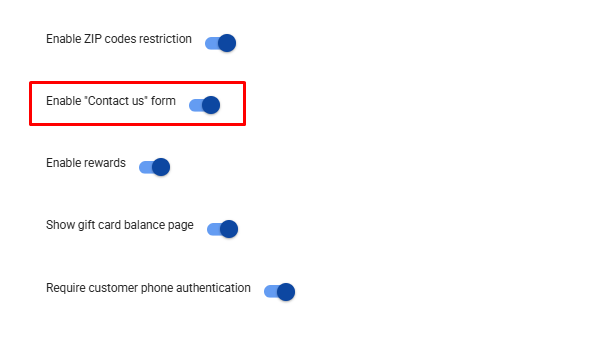
Please note: The Address, Contact Number, Email Address, and Store Hours displayed on your website are pulled directly from the Company Settings section in your back office.
To update this information, please make changes there.
Enable Rewards

(Available only on the parent location)
Allows customers to earn and redeem loyalty points during online purchases on your eCommerce site.
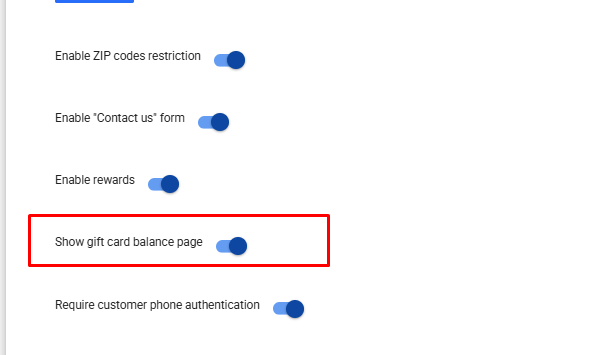
Show Gift Card Balance Page
Require Customer Phone Authentication
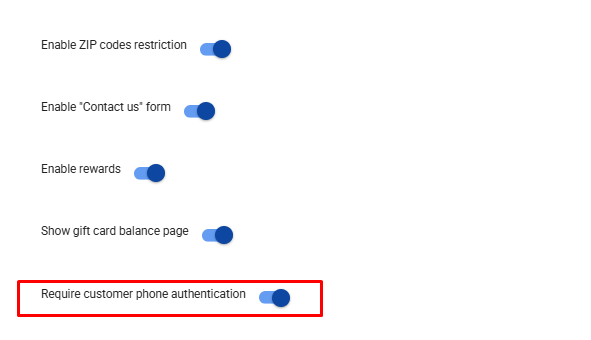
(Available only on the parent location)
When enabled, customers must log in using their phone number. If disabled, login will be by email.
- With Require Customer Phone Authentication enabled
- With Require Customer Phone Authentication disabled
Online login method

This feature allows you to change the customer login method on your website from the traditional password-based login to a modern one-time password system.
-
Password: A standard login method where users are prompted to enter either their email or cellphone number along with the password they created during registration.
- One-time password: A modern, unified approach for both sign-in and sign-up. Users are asked to enter their email (by default) or cellphone number (if phone verification is enabled). They then proceed by entering a confirmation code sent to them. Depending on their registration status, the system will either sign them in or prompt them to complete the registration process.
 Important: If Require customer phone authentication is enabled and Online login method is set to One-time password, the Growth Marketing Text Messages feature must be enabled in the parent location.
Text credits from the parent location will be used for sending authentication messages, including those triggered by child locations.
Custom Style
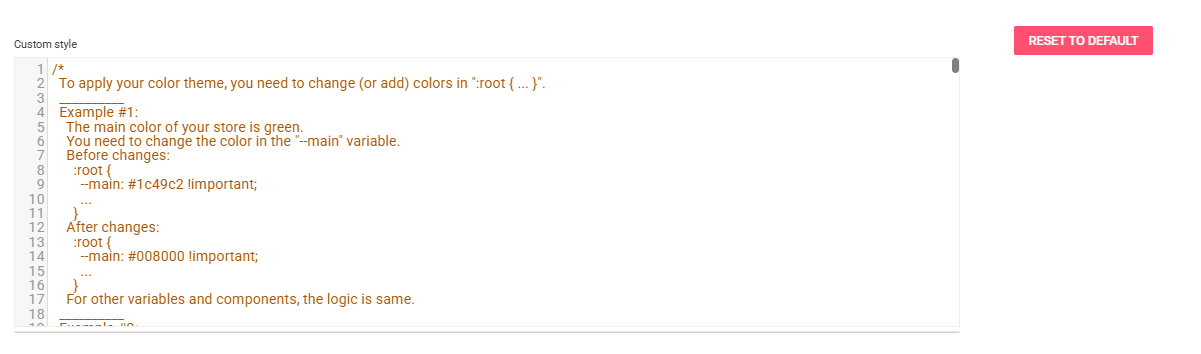
This field is used to add CSS code to customize the appearance of your website. You can change component colors, fonts, sizes, layout spacing, button styles, background, and visibility of elements — giving your site a unique look that matches your brand.
Custom Script (Head) & Custom Script (Body)
Use these fields to integrate 3rd-party services by inserting code snippets.
Examples:
- Google Analytics / Meta Pixel
- Live chat tools (Tidio, Intercom)
- Google Tag Manager
- Marketing or remarketing tags
- Verification scripts (Google, Bing)
- Custom tracking codes
 Notes:
The fields Custom Style, Custom Script (head), and Custom Script (body), if configured in the parent location, will be inherited by the child locations.
However, if you want to customize these fields separately for a child location, any changes made will override the parent location’s settings.
The key rule is: as long as these fields remain empty in the child locations, they will continue to inherit the settings from the parent location.
Google Analytics Tag ID (GTag)

Enter your GTag ID to integrate your site with Google Analytics.
This enables real-time tracking of user behavior, visits, and performance metrics.
Google Place ID

Use this field to enter your Google Place ID, which you can find by entering your store address here.
It connects your business to Google Maps and Reviews.
To set up your reviews, first add your Google Place ID as described earlier.
After that, go to Settings → My Website → Pages and select the page where you want the reviews to appear.
Then, choose the Dynamic Content Block, drag and drop it to the desired position on the page, select the Google Reviews block type, and save.
An example of how it looks is shown below:
Google Review Rating Threshold

Set the minimum star rating for Google Reviews displayed on your site.
For example, setting "4" will only show reviews rated 4 stars or higher.
Related Articles
My Website Guidance "Store Info" Page
Introduction This is the third guide in our series on using and configuring websites within Franpos. In this walkthrough, we’ll provide clear, step-by-step instructions on how to set up and manage the "Store Info" page, located under the My Website ...My Website Guidance "Redirects" Page
Introduction This guide is the sixth installment in our Franpos website series. It provides detailed instructions on how to configure URL redirections within the Redirects page found under the My Website section. Following this walkthrough will help ...My Website Guidance "Pages" Page
Creating and Managing Pages on Your Website Introduction This is the fifth guide in a series on how to use and configure websites within Franpos. In this article, you'll learn how to create custom pages for your website using the My Website > Pages ...My Website Guidance "Menu" Page
Creating and managing menu buttons on your Website Introduction This is the fourth guide in a series on how to use and configure websites within Franpos. In this article, you’ll learn how to create menu buttons that allow your customers to interact ...How to Add Custom Domain to Your E-commerce Website in Franpos
Introduction This is the first guide in a series on how to use and configure websites in Franpos. In this guide, you'll find a step-by-step walkthrough on how to add custom (owned) domain to your e-commerce website. Understanding the Basics Before ...