My Website Guidance "Store Info" Page
Introduction
This is the third guide in our series on using and configuring websites within Franpos. In this walkthrough, we’ll provide clear, step-by-step instructions on how to set up and manage the "Store Info" page, located under the My Website section.
Configurable Functions on the "Store Info" Page
Preview My Site

This function allows you to open your website and see how it currently appears.
It is useful for reviewing recent updates and checking whether layout, styling, or content changes meet your expectations — before publishing the site publicly.
Make Store Live

This toggle controls the public availability of your website.
Enabled: Your store becomes visible in search engines and accessible to customers.
Disabled: Your website will remain hidden from public view. Only you can access it through the "Preview My Site" button for internal testing.
Store Alias

The Store Alias is a custom name that becomes part of your e-commerce website URL. Instead of displaying a technical company ID in the web address, the alias helps create a cleaner, more user-friendly URL. This not only improves the appearance of your link but also enhances your store’s search engine optimization (SEO).
Service Area ZIP Code

This field is required for the proper functioning of the "Enable ZIP Codes Restriction" feature, which was explained in the previous article.The Service Area ZIP Code field appears only when the ZIP code restriction is enabled. It allows you to specify which ZIP codes are permitted to access your website.
Enforce ZIP Code Validation

This option becomes available when the "Enable ZIP Codes Restriction" feature is turned on. When enabled, your website will display a popup prompting visitors to enter their ZIP code before proceeding.

Example
Homepage / Landing Page

This setting is available only at the parent location level and automatically applies to all child locations. It defines which page your website visitors will see first when they access your domain using the default DNS settings.
In other words, it controls where the original store URL (e.g., pokemonstorefranpos.shop) will redirect users upon entry.
Examples:
- If Homepage is selected, visitors who go to pokemonstorefranpos.shop will land on the main homepage.
- If Shop is selected, visitors will be redirected directly to the shop section of your website.
- If Locations is selected, visitors will see a location selection page where they can choose the nearest or preferred store.
Enable Homepage

This option controls whether your website includes a homepage.
When disabled, your website will not display a homepage, and visitors will be redirected to the section defined in your Landing Page settings.
When enabled, the homepage will become active and visible to your customers.
Use this setting to determine whether your site should greet visitors with a customized homepage or redirect them directly to another section (such as Shop or Locations).
Enable Featured Categories

When this option is enabled, your website can display featured categories — these are specific categories marked as “featured” in the Back Office within each category’s profile.
Example : You can add a Dynamic Content Block to your homepage or any other page, and select the Featured Category List component.
You can also define how many featured categories to show in that block.
Enable Featured Products

Similar to categories, this option allows your website to display products that you’ve marked as “featured” in the Back Office — within each product’s individual profile.
Example : You can add a Dynamic Content Block with a Featured Products List, and choose how many products you want to showcase.
This is ideal for highlighting bestsellers, promotions, or new arrivals.
Enable Featured Brands

Enable Featured Brands
This setting enables interaction with featured brands, which you can mark in the Back Office under each brand’s profile. In addition to adding them to your website, all brands marked as “featured” will also appear in the footer section of your website.
Example 1:Example 2:
Add a Dynamic Content Block to your page and select the Featured Brands List component.
Then specify the number of featured brands to display. This is helpful for promoting partnerships or highlighting specific manufacturers.
Banner Message

The Banner Message field allows you to display a custom text message in the header of your website.
This is typically used to highlight important updates, promotions, shipping information, or seasonal announcements. The message appears across all pages, ensuring maximum visibility to visitors.
Social Integration
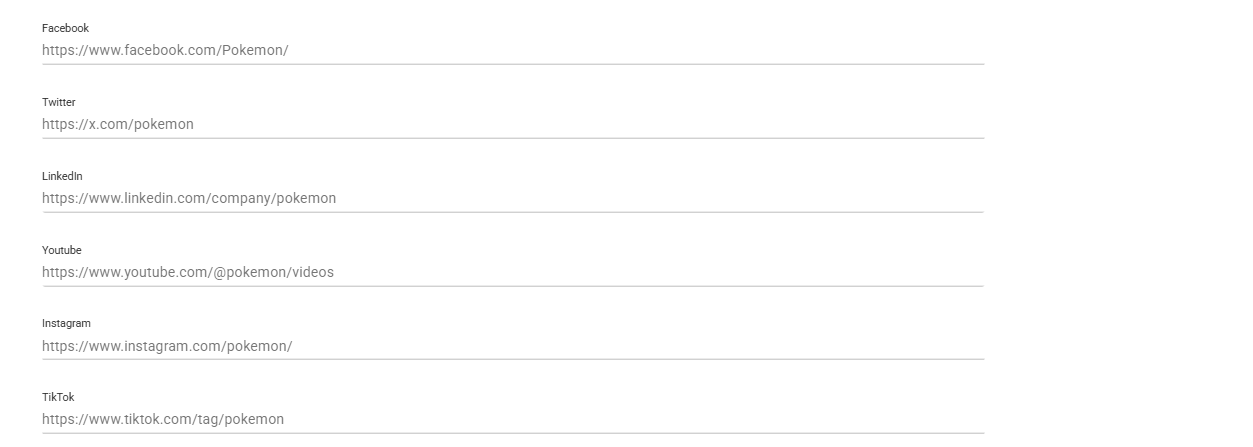
The Social Integration section allows you to add clickable links to your social media profiles. The following platforms are supported: Facebook, Twitter, LinkedIn, YouTube, Instagram, TikTok. These links appear as clickable icons in the footer section of your website.
You are not required to fill in all the fields — only the platforms you provide links for will be displayed. This gives you full control over which social channels are promoted to your customers.
Related Articles
My Website Guidance "Site Info" Page
Introduction This is the second guide in a series on how to use and configure websites within Franpos. In this walkthrough, you’ll find step-by-step instructions on how to work with the "Site Info" page inside the My Website section. Parent and Child ...My Website Guidance "Redirects" Page
Introduction This guide is the sixth installment in our Franpos website series. It provides detailed instructions on how to configure URL redirections within the Redirects page found under the My Website section. Following this walkthrough will help ...My Website Guidance "Pages" Page
Creating and Managing Pages on Your Website Introduction This is the fifth guide in a series on how to use and configure websites within Franpos. In this article, you'll learn how to create custom pages for your website using the My Website > Pages ...My Website Guidance "Menu" Page
Creating and managing menu buttons on your Website Introduction This is the fourth guide in a series on how to use and configure websites within Franpos. In this article, you’ll learn how to create menu buttons that allow your customers to interact ...How to Add Custom Domain to Your E-commerce Website in Franpos
Introduction This is the first guide in a series on how to use and configure websites in Franpos. In this guide, you'll find a step-by-step walkthrough on how to add custom (owned) domain to your e-commerce website. Understanding the Basics Before ...